Any workout regime worth its salt has an assortment of well-rounded moves that target various muscles of the body. Inverted rows can be a good addition to your routine, allowing you to hone in on the muscles of the back and prepare for more advanced exercises (think pull-ups).
As with any move, it’s important to do it right to ensure you don’t accidentally injure yourself by using improper form. Here’s a step-by-step guide to help you make the most of inverted rows at home in your workout routine.
What is an Inverted Row?
An inverted row is a reverse row, commonly called a bodyweight row, that takes a calisthenic approach to the exercise. It’s just like a regular row, but instead of pulling the bar up towards your body, you’ll pull your body up towards the bar. Generally, you simply use your own body weight to complete the row (unless you need more of a challenge).
The move targets the muscles of the upper back, initiating a burn in your lats, traps, rhomboids, delts, and even your biceps. It’s a great move for beginners, as it allows you to start building your back strength in a safe way.
If your goal is to be able to knock out a few pull-ups, this move can be a solid precursor, serving as a building block that helps strengthen the muscles you’ll need for a pull-up.
5 Steps to Properly Do an Inverted Row
Like any exercise, proper form is crucial when doing an inverted row. Follow these steps to maximize the benefits and avoid injury from improper form:
1. Set Up Your Work Area
Before you jump into the move, you’ll need to set up your work area. Set up your bar or rings at about waist height. This will allow you to achieve a full range of motion without having to start with bent elbows (which is harder)
2. Lay Down Beneath the Bar
Once your bar is stable and secure, lay down beneath the bar facing upward. The bar should be positioned at about chest level, allowing you to pull upwards without straining your shoulders in a not-so-healthy way.
3. Grasp the Bar
Grip the bar with an overhand grasp. Your palms should face away from you (or upward). Your hands should be slightly wider than shoulder-width—just like you would do with a regular bent-over row.
4. Pull to Raise Your Body
Once you’re ready and in position, contract your abs, glutes, and back, squeezing as you raise your body toward the bar. Keep your body in a straight, plank-like position. Balance on your heels, allowing your toes to point upward.
Pull yourself to the bar, tapping your chest against it. If you can’t get that high, modify the move or start with a lesser range of motion.
5. Slowly Lower Back Down
After you tap your chest to the bar, slowly lower back down, keeping your muscles engaged. Don’t just fall back down to the floor—you’ll still target your muscles in this eccentric position, so keep them engaged as you lower back down.

Tips to Intensify and Simplify the Exercise
Depending on your fitness level, you might find the inverted row too challenging or too easy. If that’s the case, try these tips:
Wear a Weighted Vest
If your body weight is simply too light for you to feel the burn, turn up the heat by wearing a weighted vest. It’ll add some extra resistance, potentially allowing you to feel that hurt-so-good burn in the muscles of your back.
Adjust the weighted vest based on your fitness level. If heavier weights are too much but body weight is too light, start with a barely-weighted vest and go from there.
Try it at a Higher Angle
Can’t manage the movement when the bar is at waist height? No biggie! Simply raise the bar to about shoulder height and try again. By raising the bar, you’ll remove most of your body weight from the equation. As you get stronger, move the bar lower to continue challenging yourself.
Add Inverted Rows to Your Routine
Inverted rows are a phenomenal addition to a well-rounded workout routine. They’re a great building block for back strength, helping you hone those muscles you’ll need to complete a full pull-up. With proper form, you can greatly improve your back strength and work towards achieving your fitness goals.
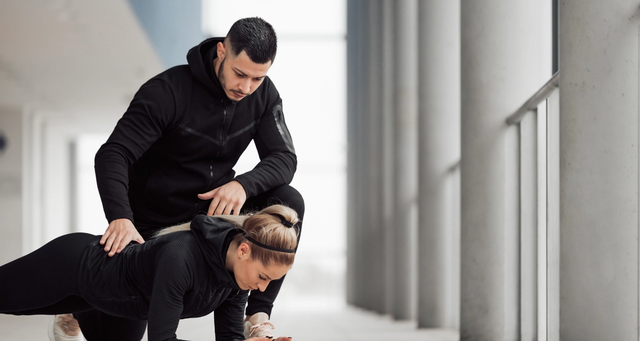
Of course, it’s best to incorporate this into a well-rounded workout routine. It alone won’t work all the muscles of the body to achieve all of your fitness goals. If you’re not sure how to incorporate it, chat with a personal trainer near you. They can help develop a fitness regime that features inverted rows to help you knock out your fitness goals.
Start your Svetness journey today
Get a free consultation and see how our trainers can transform your wellness journey.


